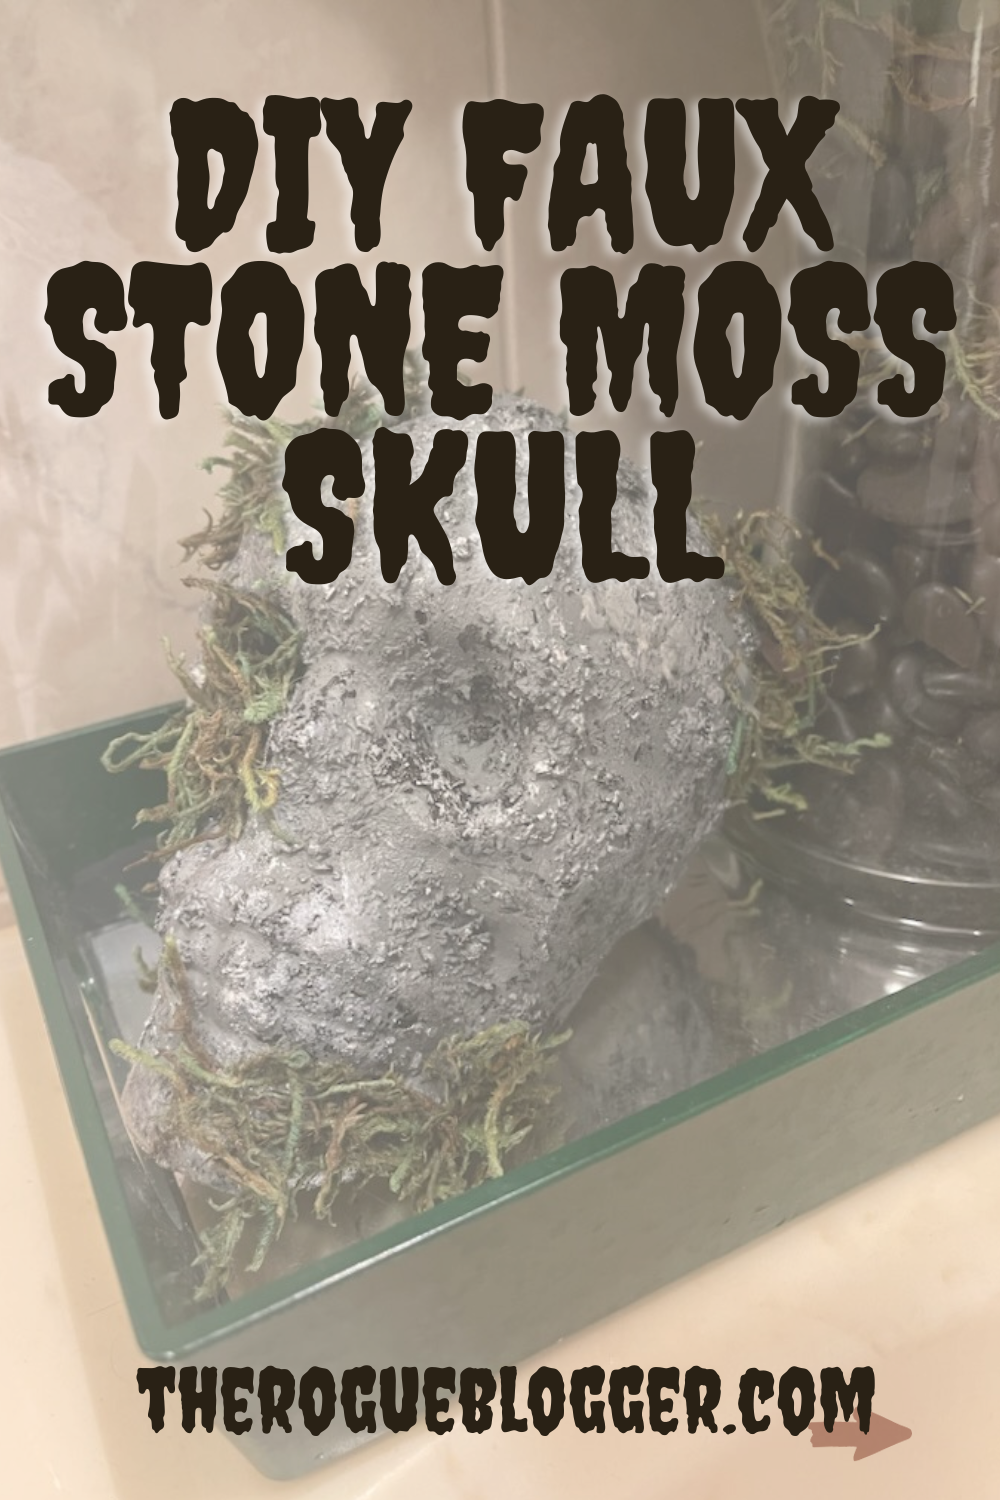
Last Halloween I saw a solid tower of faux stone skulls covered in moss that I immediately felt that I had to have. Now, I feel this way with a lot of Halloween decorations, let’s be fair. But something about this one stuck with me. Nothing against JoAnn’s, but the tower was a little expensive for my taste. Therefore, I sadly left the tower there. But I knew that I needed my own faux stone moss skull.

When I was unpacking my Halloween decorations this year, the tower had come back into my mind. Before you judge me, I want to explain why it came back into my head after a year. My plan for our bathroom was to decorate it with a spooky garden theme since my colors in the bathroom are already green, black, and white. This made for an excellent base for the theme, hence a perfect place for a faux stone moss skull. I began thinking if I could dupe the decoration in a way, and that’s when I remembered the infamous crafting skulls at the dollar store.
I had seen MULTIPLE ways of making faux pottery, so I figured faux stone was about the same. Doing some research, I found a method of mixing epsom salts with acrylic paint from this blog post from Jenny’s Place. This creates a faux pottery effect, and I thought it would be perfect for a faux stone effect as well. Already having the materials in my possession, I decided to give it a whirl.

Creating Fake Stone
I mixed the concoction together, following the instructions from Jenny’s blog post. This technique worked wonders when trying to make something look like stone. The only problem was actually getting the paint and epsom salts to adhere to the plastic skull. This took some finagling, but eventually I was able to create a nice base.


The entire skull was not covered, due to my difficultly of putting the mixture on, so I decided to spray paint it. This gave an excellent cover. This might be an extra step that you may or may not need.

Painting
After this, I then stippled on some black and white paint to give that skull the actual “stone” effect. However, you can use any colors that you wish to use. I know that brown, tan, and sometimes darker reds can be used for a faux stone effect as well. I used a paper towel to dab on the paint. Make sure not to go too heavy on the paint, for you want it to look messy and spotted like real concrete and stone. The actual painting is random, hitting any spots on the skull that you believe might need some paint. My suggestion would be to add the darker paint first, that way if you make any mistakes, the lighter paint can touch it up.


For moss, I just picked up crafting moss at Dollar Tree. You get a good amount of moss for a $1.25, let me tell you. You can put as much or as little of moss on as you want! There are no rules! It’s moss! I didn’t go too crazy with it, since I wanted the skull to stand out, but the moss added the PERFECT accent. I used hot glue to glue the moss on.


There you have it! Your very own faux stone moss skull! Honestly, this is one of my favorite DIY’s that I have done, and I’m so excited to bring him out every Halloween! He could even be an “all year round” vibe too if I wanted!


If you enjoyed this post, here are a couple others you might like! 🙂


