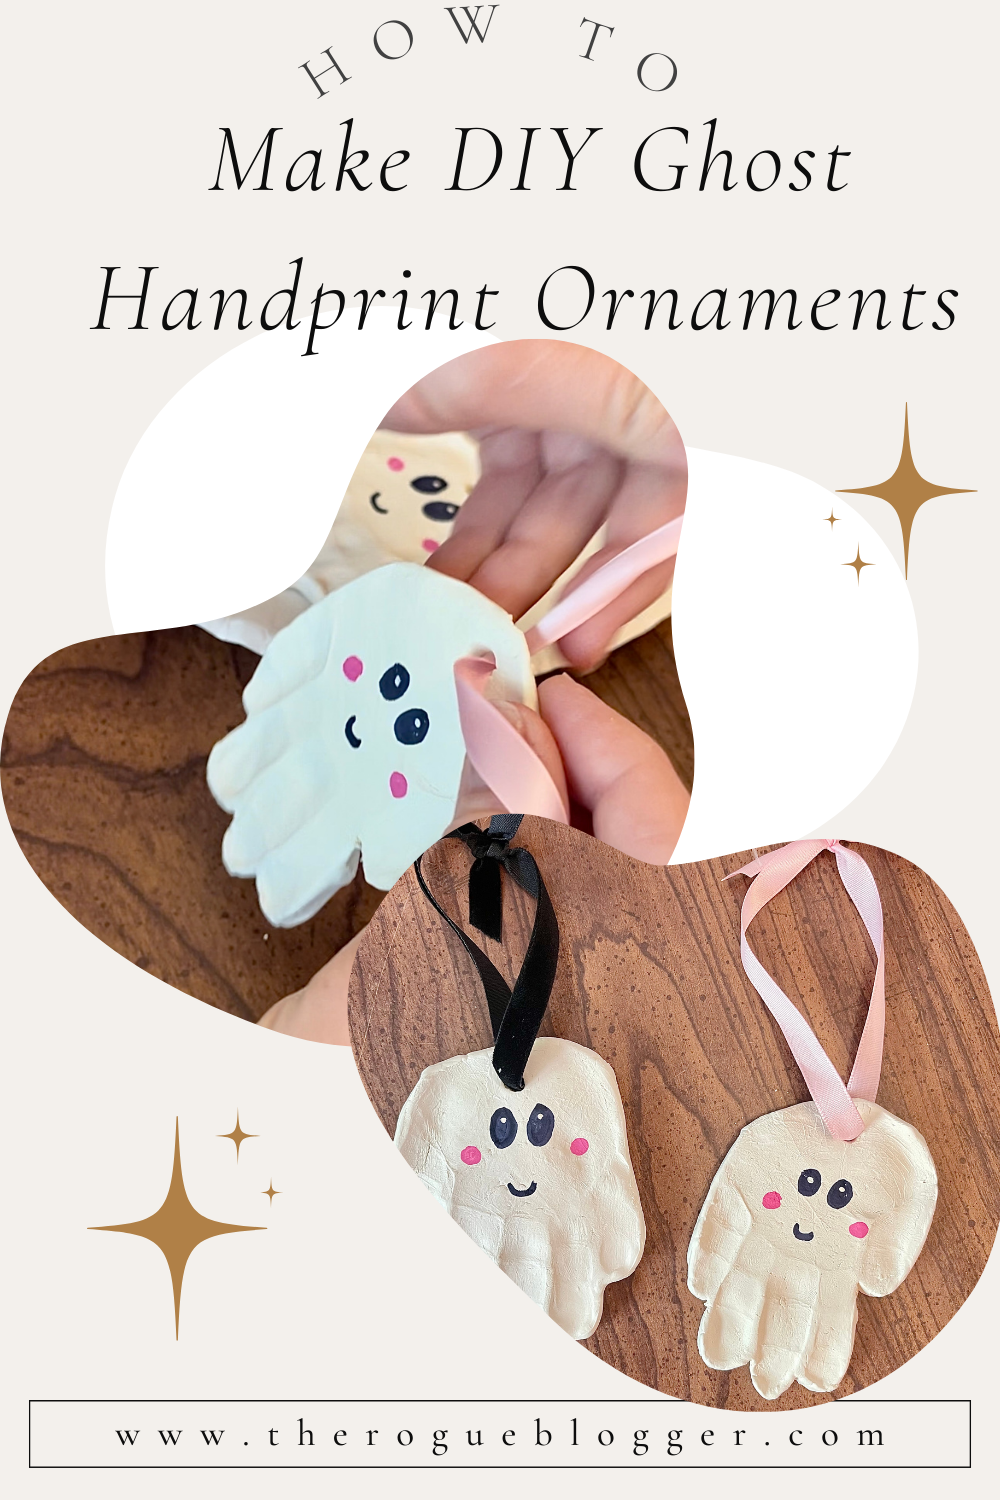
Perfect Toddler Activity for the Halloween Season!
Halloween is one of my favorite times of the year! Getting to bask in the cool and cozy season with some semi-spooky activities is my idea of a good time! Coming up with activities for my toddler and I to enjoy together only makes this time of year even better. This DIY ghost handprint ornament is the perfect “spoopy” (just a little bit of spooky, but also adorable!) DIY activity for toddlers to do with their parents!
Not only is this craft the cutest little ghost, but it is also a wonderful keepsake. These handprint ghost ornaments are easy to make while also getting your child involved to make something that you will cherish for years to come. They also make the sweetest little Halloween gifts for loved ones!
Please share this article!

Disclaimer: I am an affiliate of Amazon and will receive a commission if you sign up through my referral link. This is at no additional cost to you.
How to Make DIY Ghost Handprint Ornaments
Materials
You will need:
- air dry clay: I used this five-pound container of Crayola air dry clay, and it was perfect! You don’t need much, and this container left me with plenty of leftover clay for more handprint ghosts and other crafts.

- ribbon of your choice
- light pink acrylic paint
- white acrylic paint
- black sharpie
- a way to cut out the handprint and make the hole for the ribbon. For example, I used clay sculpting tools like these in order to do this.

Instructions
- Firstly, take enough of the clay so that your child’s hand will fit into it and make an entire handprint when they press it into the clay. Roll that amount of clay into a ball.

2. Flatten out the clay with a clay roller. A rolling pin will work just fine as well.

3. Then, have your child press their hand into the clay just enough so there is a clear imprint of their entire hand.

4. Cut out the outline of the handprint with a clay sculpting tool with a sharp edge.
5. Afterwards, when you cut out the handprint, there is a chance that some cracks in the clay will appear on the edges. Don’t worry, that’s okay! In order to smooth out cracks in the clay, dip your pointer finger into a glass of water and gently rub it over the cracks in order to smooth out the edges. This trick works super well at getting all of the cracks out. Do this repeatedly until you are satisfied with how the handprint looks.

6. Next, use a dowel shaped clay tool, form a hole near the bottom of the palm of the handprint. The purpose of this is to thread the ribbon through later in order to hang the ghost handprint ornament. In order for the handprint to more closely resemble a ghost, the ornament should hang with the fingers of the handprint pointed downward.


7. Lay the handprints on a flat surface and set them in a place where they will be undisturbed. I lay mine on a piece of unused tile that I use for all of my clay projects.

8. Let the handprints airdry for 2-3 days. Once the handprints are dry, it’s time decorate them!
tIME TO DECORATE!

9. Next, you’re going to take some light pink acrylic paint and paint little circles on the “cheeks” of the ghost with a small paintbrush. I bought this acrylic paint from Dollar Tree.


10. Take your black sharpie and draw two dots for the eyes and a little smile.

11. Take a small paintbrush and put a tiny dot of white acrylic paint on the top of the eyes of the ghost for a pupil!

12. Lastly, thread the ribbon of your choice through the hole in the ornament and tie it in a knot in order to close the ribbon and so the ornament can hang.

There you have it! aN ADORABLE GHOST HANDPRINT ORNAMENT!

Don’t forget to date them!

I hope you enjoyed this tutorial on making these adorable ghost handprint ornaments! It’s the perfect keepsake of your little one that you can enjoy every Halloween!
If you enjoyed this tutorial, check out some other tutorials I have on other fall themed DIY projects below!


